
Collect all nine gems on the initial floor, place them in the underground nine-gem arrangement to break the obstruction, then recover them for the later beam puzzles and feed the lizard after finishing your collection. This Order of the Sinking Star Vault of the Beamcasters route covers the second large western puzzle. Red beams remove barriers, yellow beams let you break stones, and beam intersections can give you the doubled jump needed for an enclosed gem. If you need to choose a different section first, check the order of the sinking star walkthrough.
How do you open the nine diamond gate?
Bring nine gems downstairs and place all nine in the gate arrangement; once the obstruction breaks, take the gems back.
The nine diamond gate can look like the place where you permanently spend your collection. Treat it as a temporary setup instead. You still need gems to activate beams afterward, so leaving them behind makes the next room needlessly awkward.
- Collect the initial floor's nine gems before descending. Work through the barriers and stones rather than heading downstairs as soon as you find the way down. Your checkpoint is a collection of nine gems.
- Place all nine in the underground arrangement. The result to watch for is the obstruction breaking. That is your cue that this setup has done its job.
- Recover the placed gems. Before moving on, pick them back up so you can put them into the next emitters. Count what you are carrying together with anything still powering a beam.
If you are looking for the Displacer Rod recoil from the earlier western puzzle, start with order of the sinking star the promise. The Displacer Rod from that first puzzle is absent at the start here. Solve this floor by arranging gems and beam effects.
Which beams let you reach the enclosed gems?
Activate red to clear barriers, yellow to break stones, green to pass through walls, and pink for the movement that rushes straight to the end.
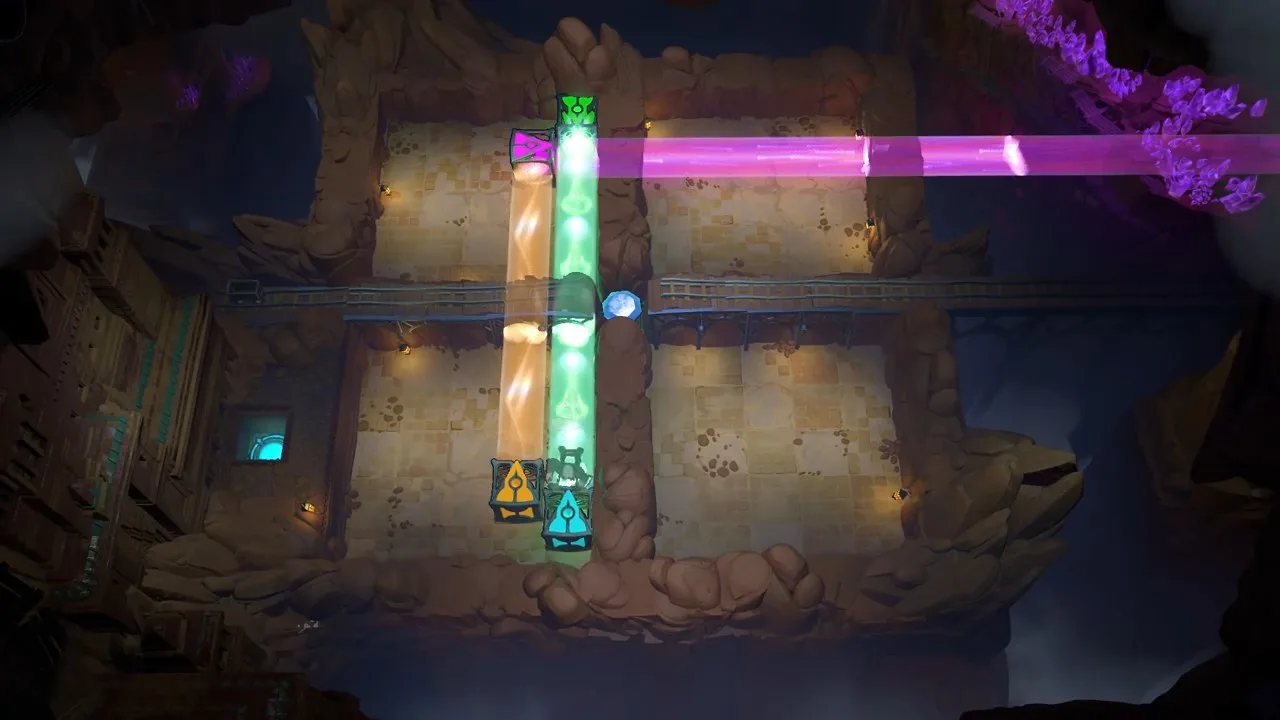
A beam may look like just a colored line across the room. Read it as an effect you can use while working through the surrounding obstacles. Reaching an enclosure and removing the stone inside it are separate jobs: pink can get you in without giving you the yellow effect needed to break that stone.
| Beam or setup | What to use it for | What to check |
|---|---|---|
| Red | Removing a barrier | The blocked passage becomes accessible |
| Yellow | Breaking stones | The stone breaks when you act with the yellow effect |
| Green | Passing through walls | You can cross the wall while the beam is active |
| Pink | Rushing straight to the end | Your movement carries you along the straight route |
| Intersecting beams | The doubled jump | You can reach the passage that the shorter jump missed |
For a gem behind both a barrier and a stone, solve the access problem first. One lower approach requires the lower red beam before you can get inside and use yellow to break the stone. Confirm the entrance has opened before committing to that route, then check that the stone is gone before trying to collect the gem.
Open the red barrier before entering an enclosed passage. One player got inside and then could not get back out. Also, taking a gem out of a green emitter switches off that beam and removes the wall passage it was providing. Keep the exit powered until you have crossed back.
When an ordinary jump falls short near the middle enclosure, use the beam intersection for the doubled jump. The useful check is practical: you should be able to reach and pick up the gem, then leave the enclosure. Merely landing inside is only half the job.
How do you rotate the beams in the direction you want?
Face the direction you want the beam to turn before using the rotation action.
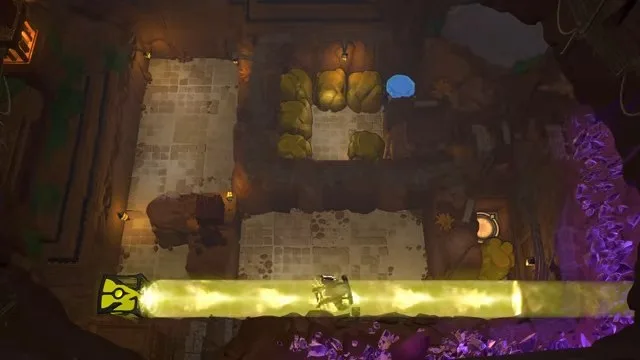
The control can initially seem limited to two directions. A player trying to turn a beam upward found that facing upward was the missing part. Your character's facing direction matters, so set that before repeating the action.
- Activate the emitter you need. Check that its colored beam is lit before trying to redirect it.
- Position your character and face the intended direction. If the beam keeps turning the wrong way, correct your facing rather than repeatedly trying the same input.
- Rotate and inspect the new line. Confirm that the beam now runs toward the barrier, stone, or passage you are working on.
- Reallocate a gem when necessary. If you have eight available and need another, look at the gems still sitting in emitters. In one setup, recovering a gem and putting it into red lit the required beam; directing it upward then opened the route.
For a blocked teleport, check the landing space as well as the beam direction. A player found that an occupied space in front of the teleporter prevented the return trip. Clearing the destination is a better first adjustment than repeatedly attempting the same blocked movement.
How do you get the last upper-right diamond with yellow and green beams?
Shift yellow left to break the obstructing stone, then redirect the lower green beam upward to reach the last upper-right diamond from below.
This yellow and green beam gem looks like a problem of finding another way to jump in. The stone blocks those approaches. Work backward from the lower entrance: you need green for that route, and you need the yellow effect to remove the stone first.
- Get into position to shift yellow left. The successful approach comes around to a position where that adjustment is possible. Confirm yellow has moved left rather than trying to force access along the stone-blocked column beneath it.
- Use pink to enter the working area. Get your character into position first, then direct pink right to make the entry. Check that you are inside before trying to break the stone.
- Break the stone with yellow active. The stone disappearing is the checkpoint. Once it is gone, work your way back out before setting up the lower approach.
- Move the lower green beam sideways before turning it upward. Its current column prevents the immediate upward adjustment. Use a sideways position to gain access, then go above and redirect it upward. Check that the green route now leads into the cleared approach.
- Enter from below and collect the crystal above. Finish the stone interaction along that approach and go upward to the gem. Confirm the crystal has been picked up, then leave and gather the gems you placed in emitters.
Do the clearing and the access setup in that order. Turning green upward while the stone still blocks the route leaves the actual obstacle unsolved.
When should you feed the lizard, and does it become a dragon?
Feed the lizard after collecting the remaining gems and recovering your placed ones; it becomes a dragon, completing the western introductory section.
The lizard asks for gems early, but those same gems are still useful for powering your routes. Hold onto them while you solve the remaining beam puzzles. A player worried that feeding it too soon could leave a missed crystal inaccessible, then pointed out that repeated retreat was possible. The steadier approach is to finish collecting first.
Before feeding the lizard, retrieve the gems still activating emitters after you have safely left their passages. Then bring your collection back and feed it. The visible completion check is the lizard turning into a dragon; its speech also changes to dragon language.
With the western introduction complete, choose another section from the walkthrough.
Continue east
For help with the eastern section, open the order of the sinking star mirror isles walkthrough.
Continue south
For help with the southern section, open order of the sinking star skipping stones.