
Collect and recover 12 gems to open the underground red gate, get the Displacer Rod, then gather all 20 gems and fill the underground receptacle to hatch the egg. The Order of the Sinking Star The Promise puzzle occupies the western region, where gems activate colored beams that give you different abilities. Take the lower route into the area when the red barrier blocks your entrance; for the other regions, keep the order of the sinking star walkthrough handy.
How do the colored gem beams work in The Promise?
Place gems in activation slots and stand in the resulting beams to break obstacles, push objects, open barriers, pass through walls, or move exactly two squares.
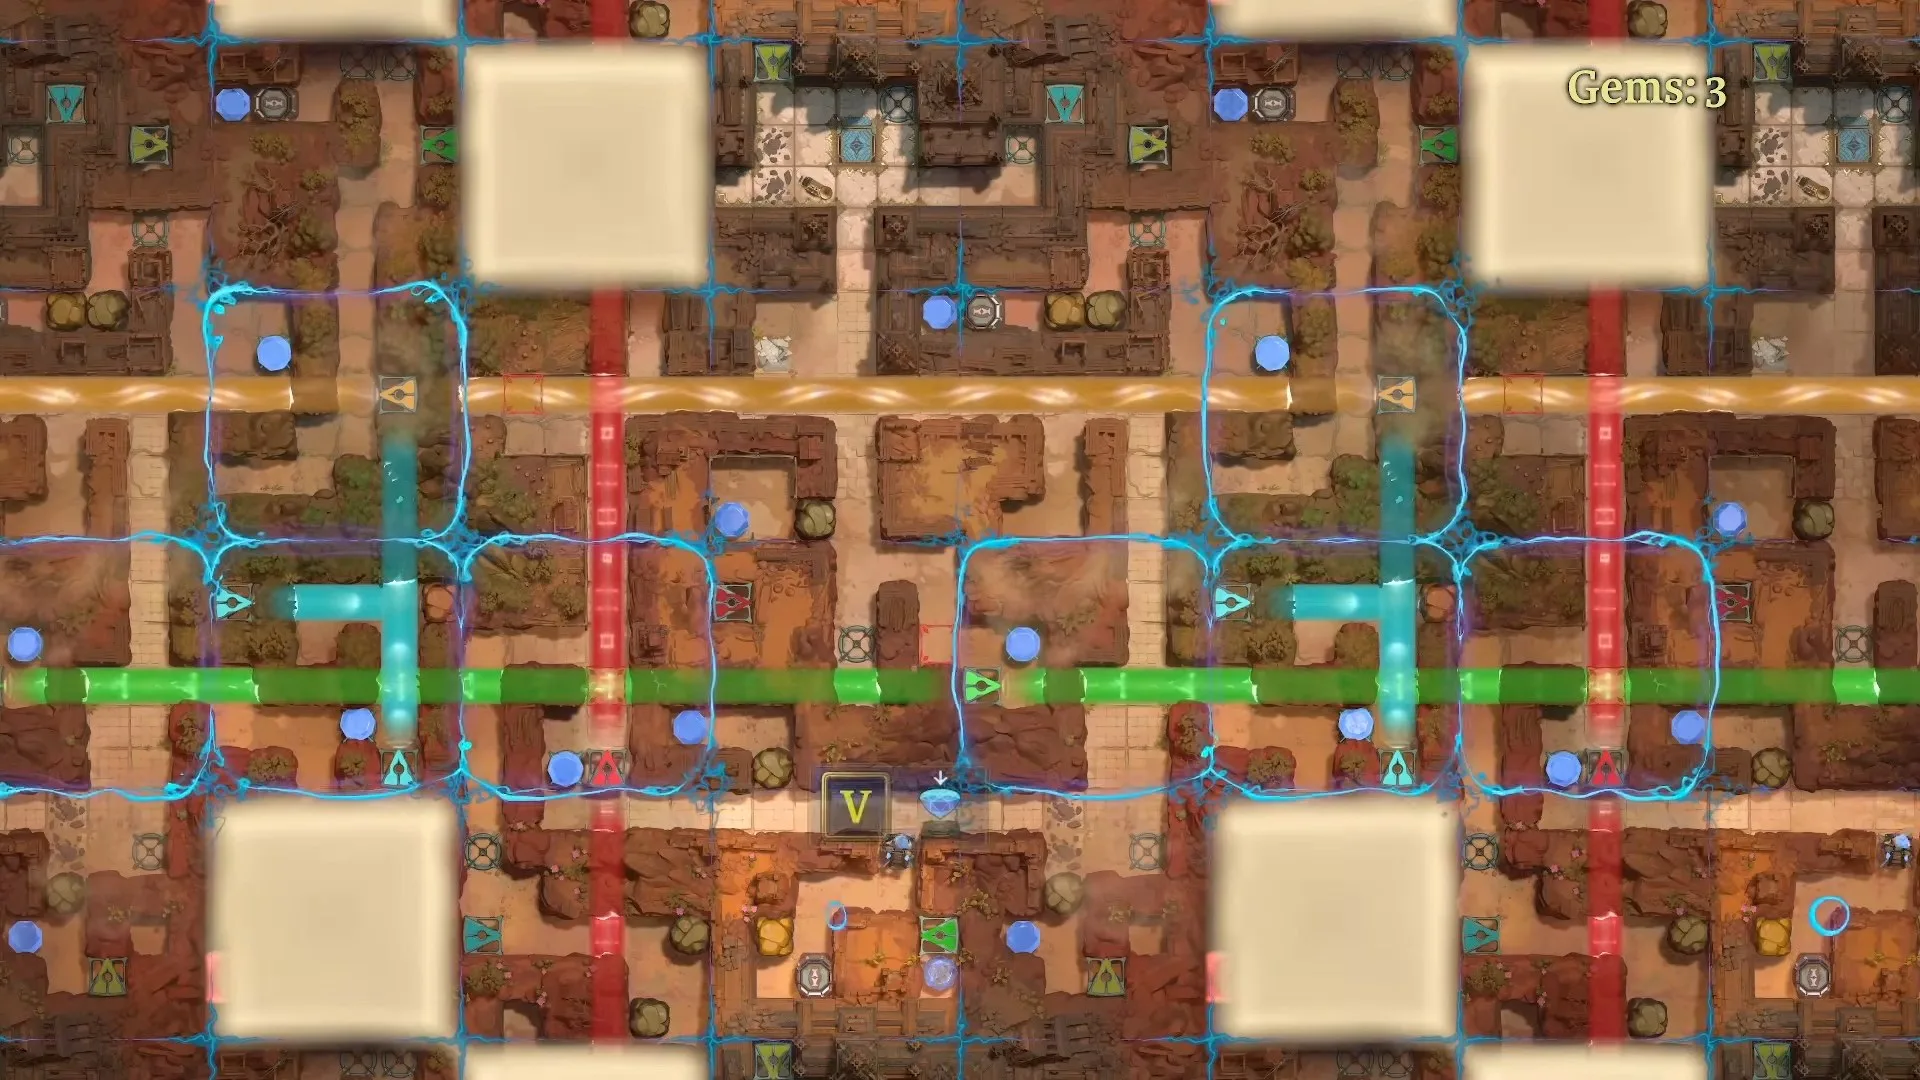
At first, these look like colored doors. Read them as areas that grant an ability instead: the important question is which beam reaches the square where you need to act. Intersections let you combine effects. These powers resemble the character abilities in the northern region covered by order of the sinking star heroes of hauling.
| Beam | Effect | How you can check it |
|---|---|---|
| Yellow | Breaks rocks and small robots | The obstacle breaks when you act within the beam |
| Blue | Lets you push objects | A previously immovable rock or box can be pushed |
| Red | Opens red barriers | The barrier clears and stays open after you recover the activation gem |
| Green | Lets you pass through walls | You can enter a wall along the green beam |
| Orange | Gives an exactly two-square move | You move two squares, rather than taking an ordinary one-square step |
Orange can look yellow, but its two-square movement is the giveaway. At an orange and yellow intersection, you can move two squares and break a rock. At an orange and red intersection, the red effect can open a barrier two squares away.
A group of slots can look partly active while still doing nothing. Fill every required slot in that activation area before expecting its beams to work. You can recover placed gems with V and reuse them elsewhere.
Plan your exit before recovering a gem. Removing it can switch off the beam you need to leave. If you enter a wall through green light and then move farther into another wall, you can get stuck; undo that move.
How do you collect the 12 gems and open the underground red gate?
Collect the gems reachable on the initial floor, recover your activation gems, then place all 12 in the altar to the left of the underground elevator.
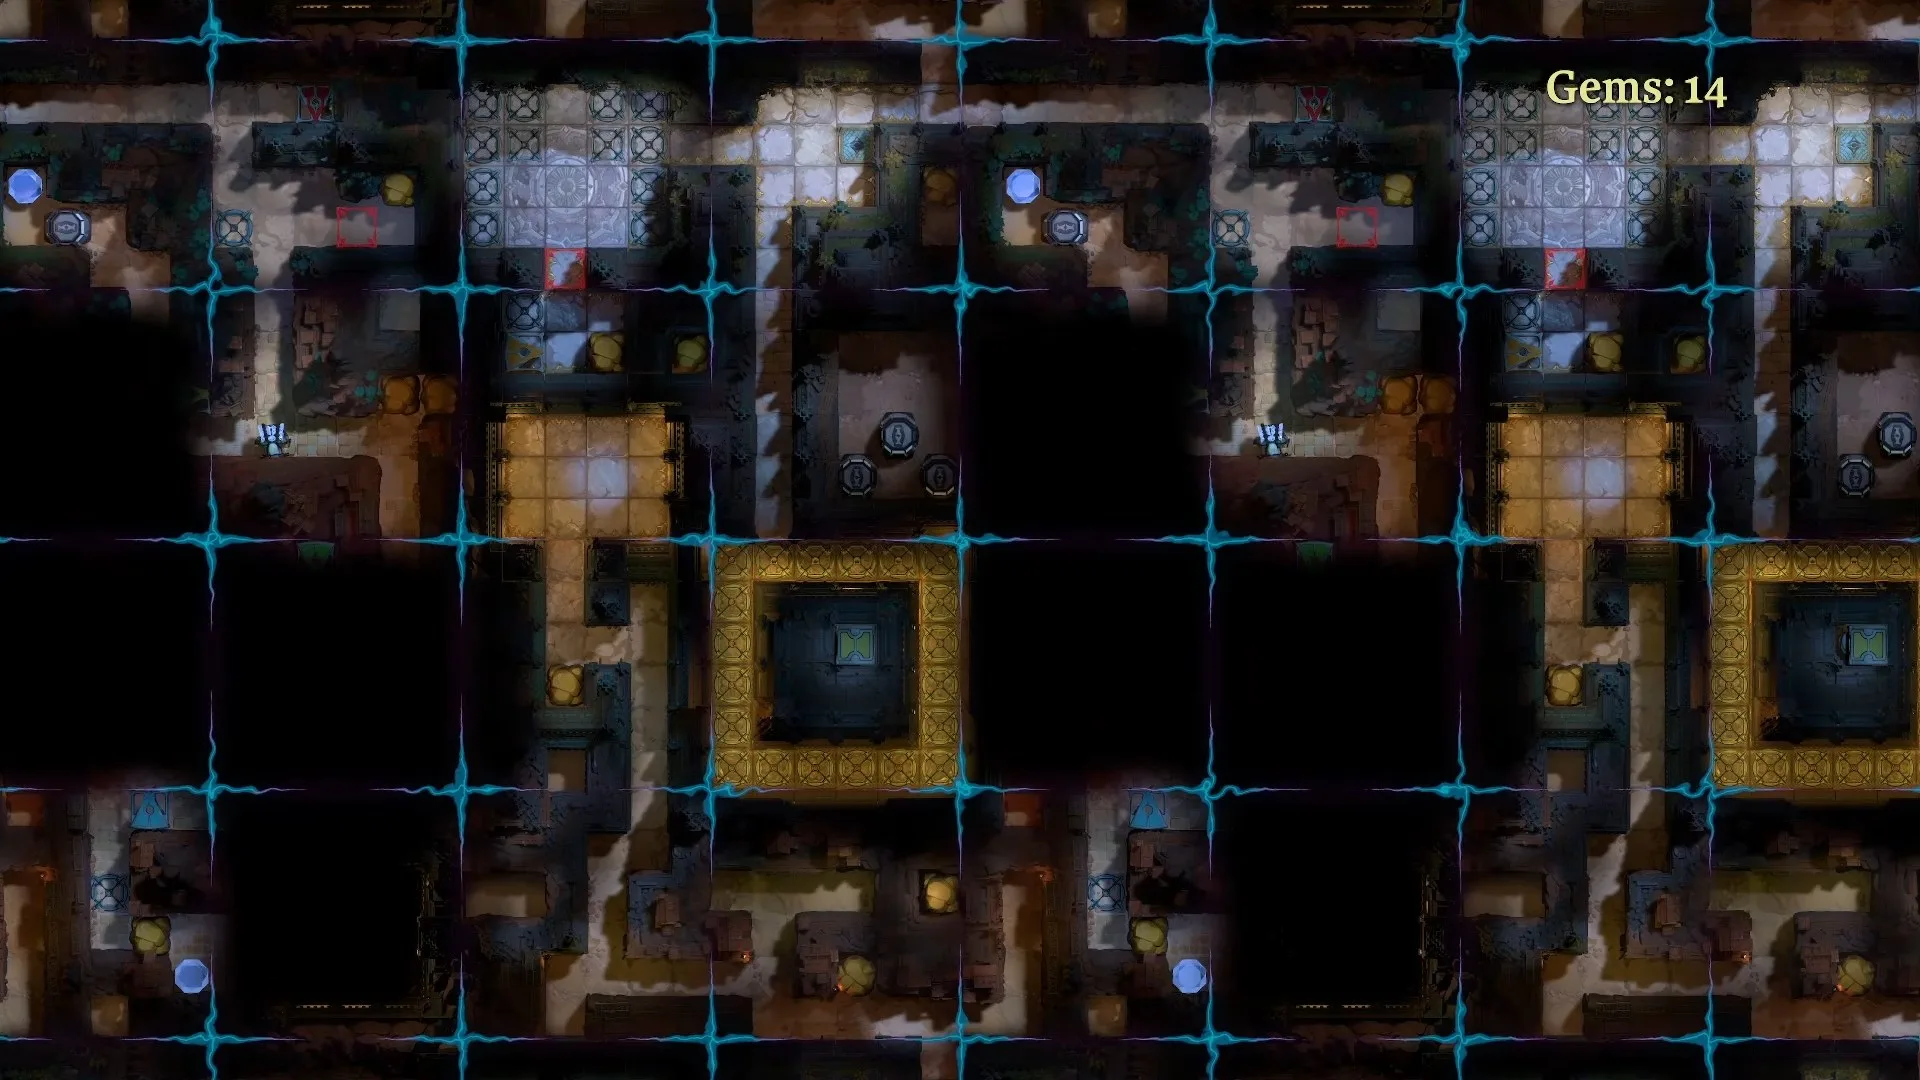
- Start with the gem on the right. Activate yellow to break the nearby rocks and get the map. The map shows a 4 by 4 arrangement of areas; you should now be able to inspect the wider puzzle.
- Reuse that gem for blue, red, and green. Push the blocking object under blue, open the red barrier, then use green to enter the wall route. Check that the red barrier remains cleared when you take its activation gem back.
- Clear obstacles that block the beams themselves. Use yellow to break the rocks below and above so green can extend to the right. In the upper collection route, use green to enter, then blue to push the blocking rock right and leave. You have the route right when both the gem and an exit are accessible.
- Use the orange intersections. Move two squares under orange and yellow to break the rock and reach another gem. Farther along, fill the whole activation area, including its lower-right slot. Use green to reach the red activation point, open its barrier, and collect the gem through the green route. Clear the yellow obstacle before committing to the enclosed space so you can get out.
- Finish the upper-right and upper pockets. Activate the yellow and blue beams, push the rock down under blue, and take the gem. For the upper pocket that needs two activation gems, enter while the beams are on and break the exit obstacle under yellow first. Only then collect and recover the gems. Your exit should be open before the light disappears.
- Count before descending. The collection checkpoint is seven gems still on the map plus five carried, for 12 total. Recover the placed gems so you carry all 12, take the downward elevator, and go left to the 12 gem altar.
- Fill the altar and open the gate. All 12 slots must be occupied. The red beam activates; use it to open the underground red gate. Once the barrier is cleared, recover the gems for the next part.
Don't leave useful activation gems behind just because you've already picked up a new gem. The altar needs your full collection, including the ones powering earlier routes.
How do you use the Displacer Rod to collect the underground gems?
Use X to displace objects, including through walls, while leaving a free square behind you for recoil.
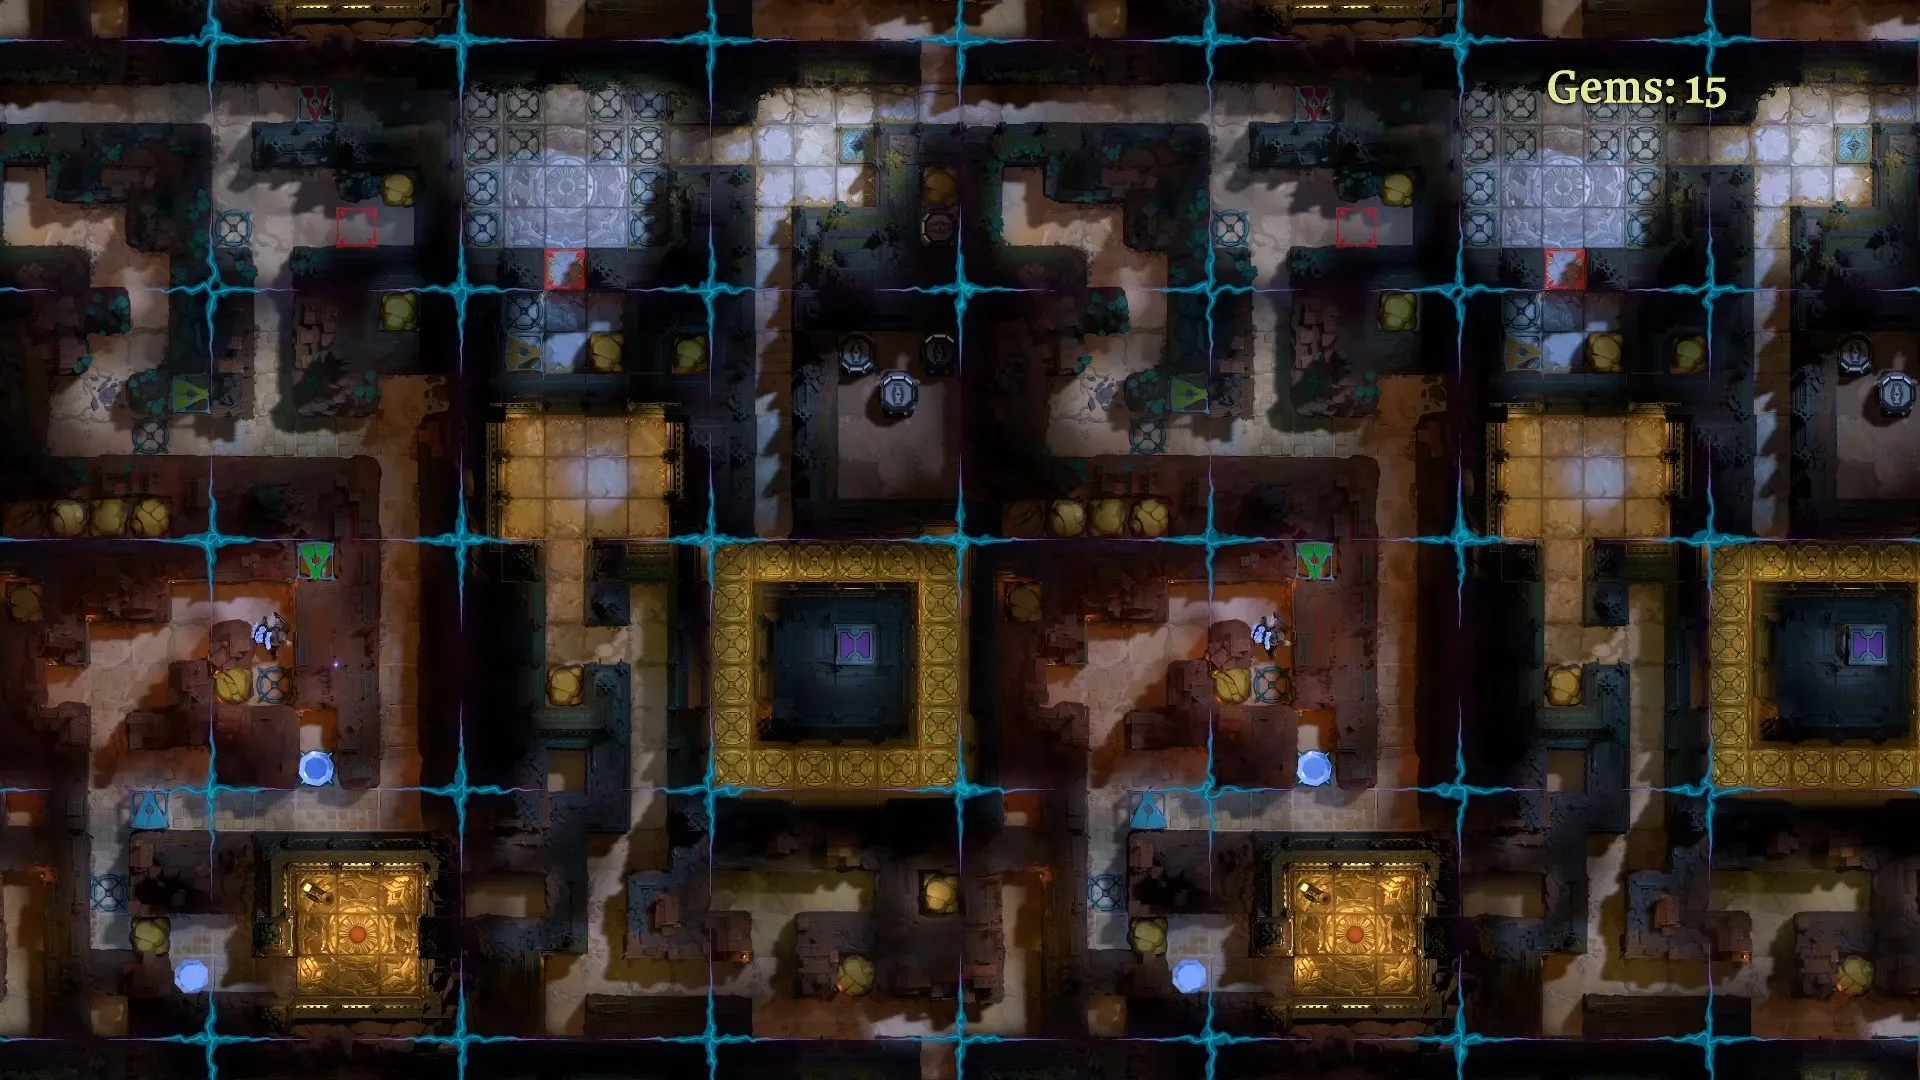
After opening the underground gate, follow the lower orange route to reach the staff. Check its effect by moving an object through a wall. If you're pressed against an obstacle behind you, reposition before trying again: the staff needs room for you to recoil.
The underground map initially looks like separate rooms with duplicate structures. It actually wraps horizontally and vertically. Moving a beam source around that loop can put its light where the original position could never reach.
- Move the first obstructing objects down, then right. Displace the rock inward to move the gem farther right, then walk around to collect it. The gem should end up where you can pick it up directly.
- Reposition the red source using the wraparound route. Move the right-hand source toward the left, activate it with a gem, and clear the rock blocking its beam. The red barrier opens, giving you access to the gem behind it.
- Unblock the looping yellow beam. Activate yellow and displace the rock upward into its light to break it. A small robot blocks the beam farther along, so wait until it moves aside before acting. The light reaches the next stretch when the obstruction is out of its path.
- Move the blue source to the rock you need to push. Displace the source left and then down until its beam covers your working square. Activate it, push the rock, and collect the exposed gem. Standing in the blue beam is your check before pushing.
- Prepare the upper pocket's exit first. Use the staff to move a gem into the activation position and fill the additional required slot. Enter through green, but leave the gem alone for a moment. Go upward and displace the exit rock with enough recoil space, then take the gem and walk out through the cleared route.
Recover the underground activation gems before taking the elevator back up. You now have the tool needed for the surface gems you couldn't reach earlier.
How do you fill the 20 gem receptacle and solve the egg hatching puzzle?
Return to the surface with the Displacer Rod, collect the remaining gems, then take all 20 underground and fill the receptacle.
- Start on the left. Displace the blocking rock upward. Use the small robot and successive staff moves, each with recoil space, to squeeze the enclosed gem out. The check is simple: the gem moves out of the pocket into a square you can reach.
- Move the red source into a usable activation area. Push it down and right, then use the horizontal wraparound route to approach from the other side. Move it farther down until its red beam reaches left toward the barrier. Activate it and return to clear the barrier; the route opens when the beam is aligned.
- Get the gem beside the green source. Activate both required points, enter the wall through green, and displace the green source while keeping its beam on your route. Take the gem and leave while the green passage still works.
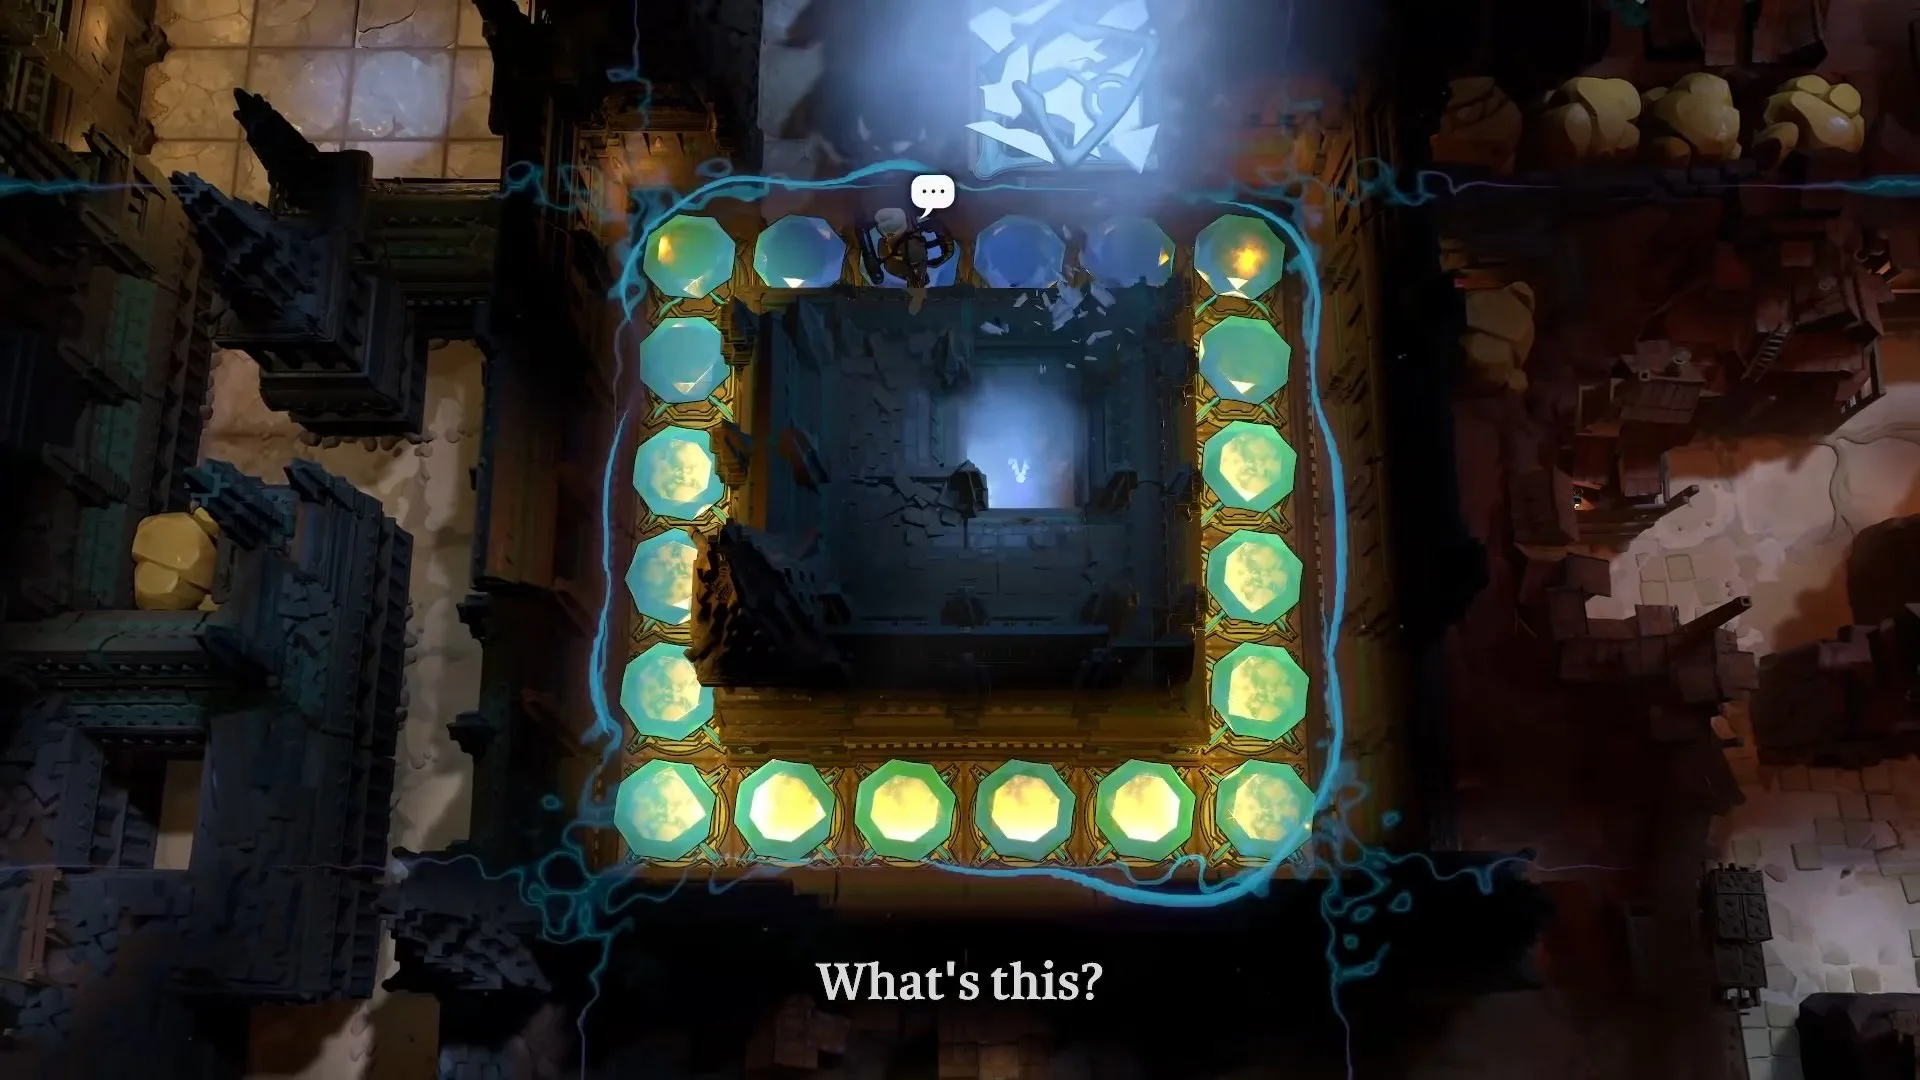
- Recover everything and count to 20. Check for a gem still left on the left side as well as gems in activation slots. Carry all 20 downstairs and fill the 20 gem receptacle. The egg bursts open and a small animal emerges, completing this puzzle.
That's the payoff for collecting every gem: the egg hatches and The Promise's large puzzle is solved. If you're moving on to the southern region, continue with order of the sinking star skipping stones, or choose another region through the order of the sinking star walkthrough.