
Free the three trapped heroes by opening the barriers with blue, crushing a blocking crystal with a returning barrier, then using green and red to clear the remaining crystal before a final blue position swap. This Order of the Sinking Star heroes of hauling route covers the north's push, pull and swap puzzles, including the three-monster gate. If you need to choose a different region first, return to the order of the sinking star walkthrough.
How do you push three crystals at once?
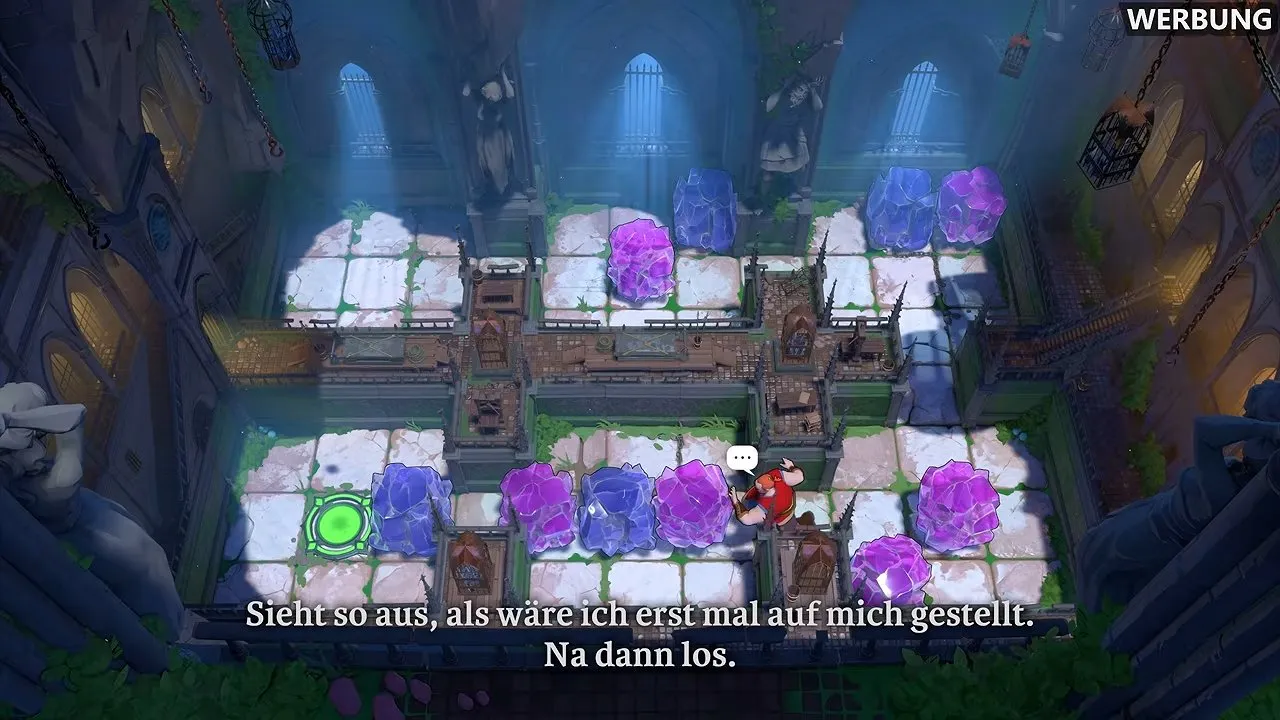
Push the connected crystals with the red hero; this ability moves multiple crystals together, including a row of three.
At first, a crowded corridor can look like you need to separate every crystal. Move the group together instead. Watch the row shift as a group to confirm the push, rather than planning around a one-crystal limit.
| Hero | Ability | Where it helps |
|---|---|---|
| Red | Pushes crystals, including multiple crystals | Moves groups and assists the prison relay |
| Green | Pulls crystals | Extracts the crystal red cannot push out |
| Blue | Swaps positions | Repositions crystals and frees blocked heroes |
How do you avoid being crushed by a returning barrier?
Send blue in first and swap green back out, instead of taking green one more step forward.
In the room where a pulled crystal holds the barrier open, that extra green step pulls the crystal away. The barrier returns with green inside it. The trap looks like a movement problem, but the important part is what your move does to the crystal holding the barrier open.
- Move blue into the space first. Check that the crystal stays in place.
- Position green for blue's swap. Swap them to bring green back out; confirm green is outside the barrier space.
- Move green down, then bring blue to the goal. Both heroes can get through without pulling away the crystal at the dangerous moment.
How do you solve the right-hand crystal and left-switch puzzle?
Put red on the left button, use blue's swaps to leave the crystal on that button, then swap blue with red to escape.
The crystal on the far right looks pushable, but red cannot move it out from this layout. Blue must extract it, and blue initially only has room to swap vertically.
- Move red left onto the button. This gives blue the opening to swap the crystal out; confirm the crystal has left its trapped position.
- Make two more swaps to reposition blue and the crystal toward the left. Move red down, then swap the crystal once more so it holds the left button. Check that the crystal is now pressing the button.
- Avoid walking blue left again, which swaps the crystal back. Put red in position first, then swap blue with red so blue can move down. Confirm blue has a route down before leaving the button behind.
On completion, the room glows, the way ahead on the right is filled in, and another puzzle appears to the right.
How do you solve the three-hero prison and barrier crushing puzzle?
Move the red crystal onto the yellow switch with blue, crush one blocking crystal in a returning barrier, then relay the other crystal out with green and red before blue's final swap.
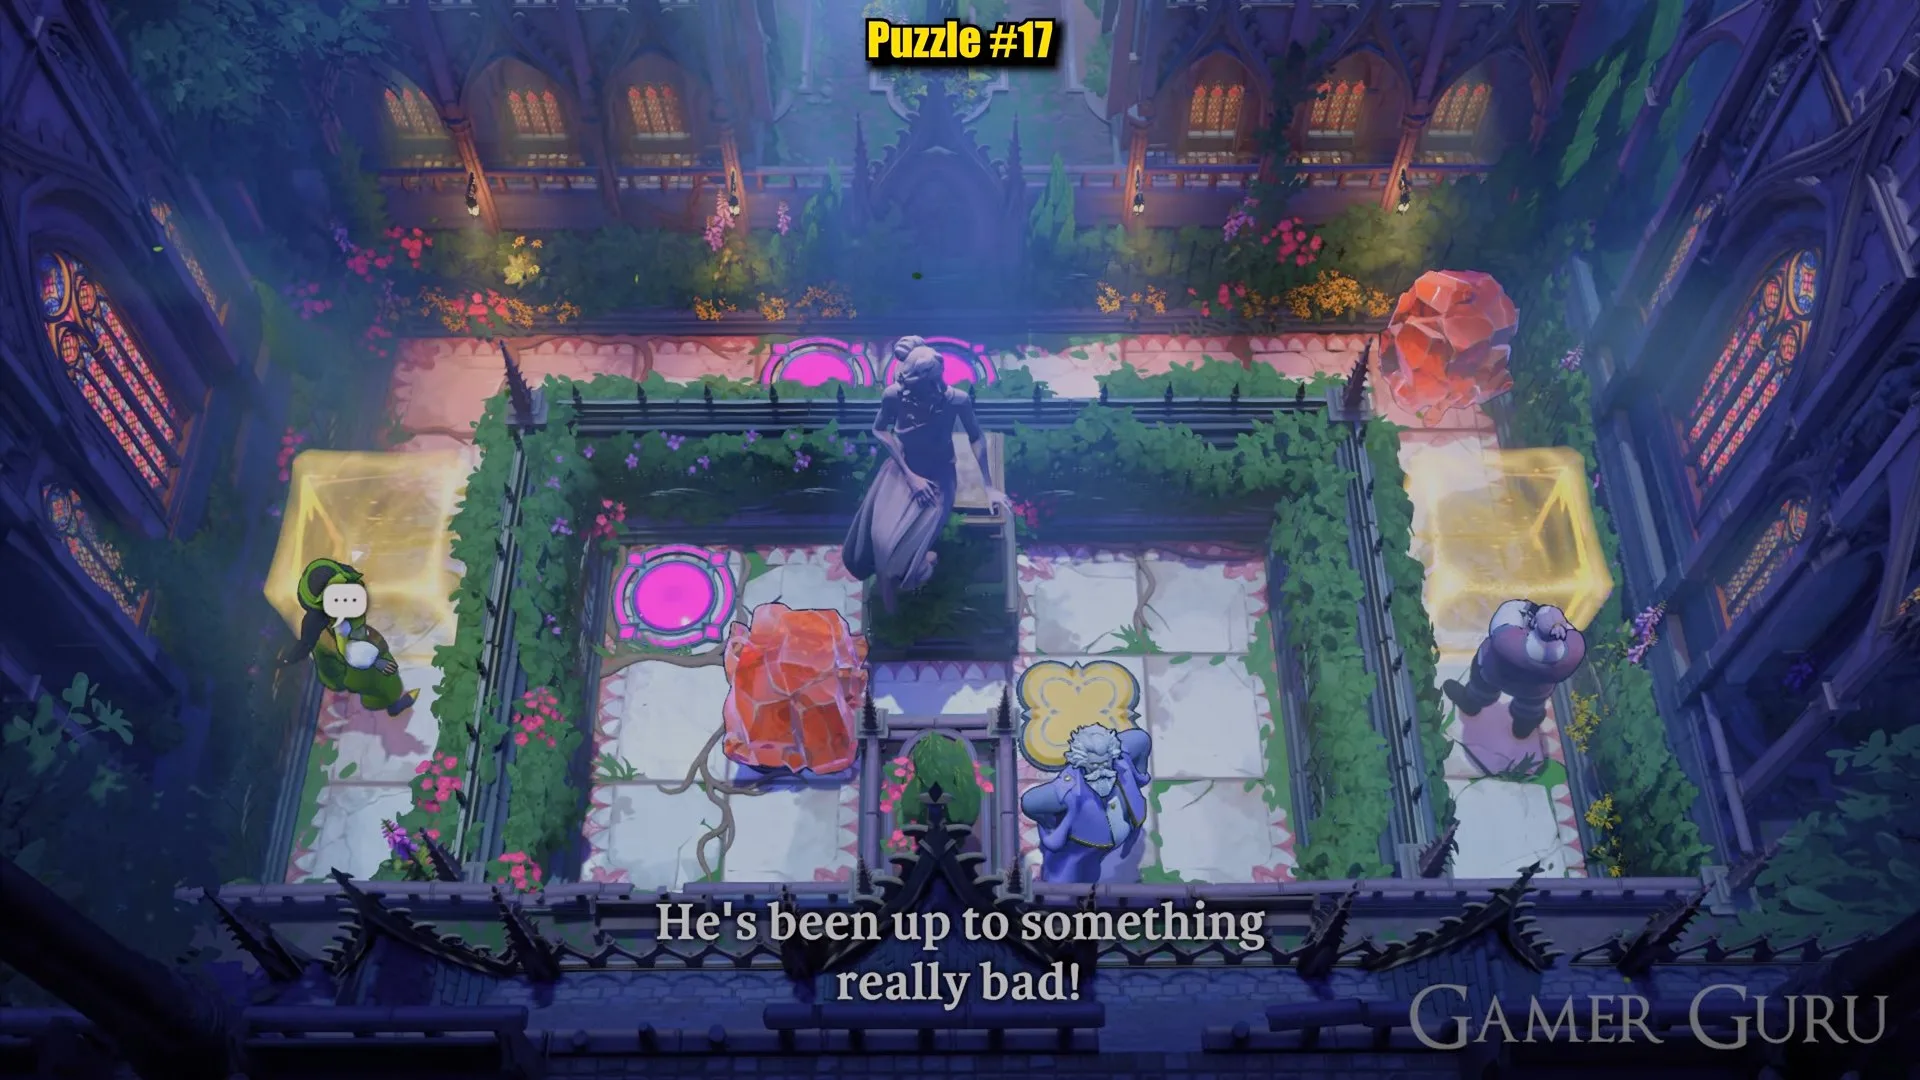
Green starts blocked on the left, red starts blocked on the right, and blue in the middle has to release them. Opening both barriers is only the first part: the crystals still block the exits.
- Open both barriers. Use blue to move the red crystal onto the yellow switch. Confirm that both barriers disappear.
- Set up the crush. Bring a blocking crystal into a barrier square. Before releasing the switch, check that the crystal occupies the square where the barrier will return.
- Remove that crystal. Move blue off the switch so the returning barrier crushes it, then restore the switch. Confirm that the crystal is gone and the barriers are open again.
- Free red's route. Bring green over to pull out the crystal blocking red. Red cannot push this cornered crystal out alone. Check that green has extracted it from the corner.
- Relay the crystal away. When green cannot move it farther, have red assist. Use their pull and push abilities in relay until both heroes can reach the middle without a crystal separating them.
- Finish with blue. Use blue's position swap to complete the room once red and green can both reach the middle. Completion opens the door on the right.
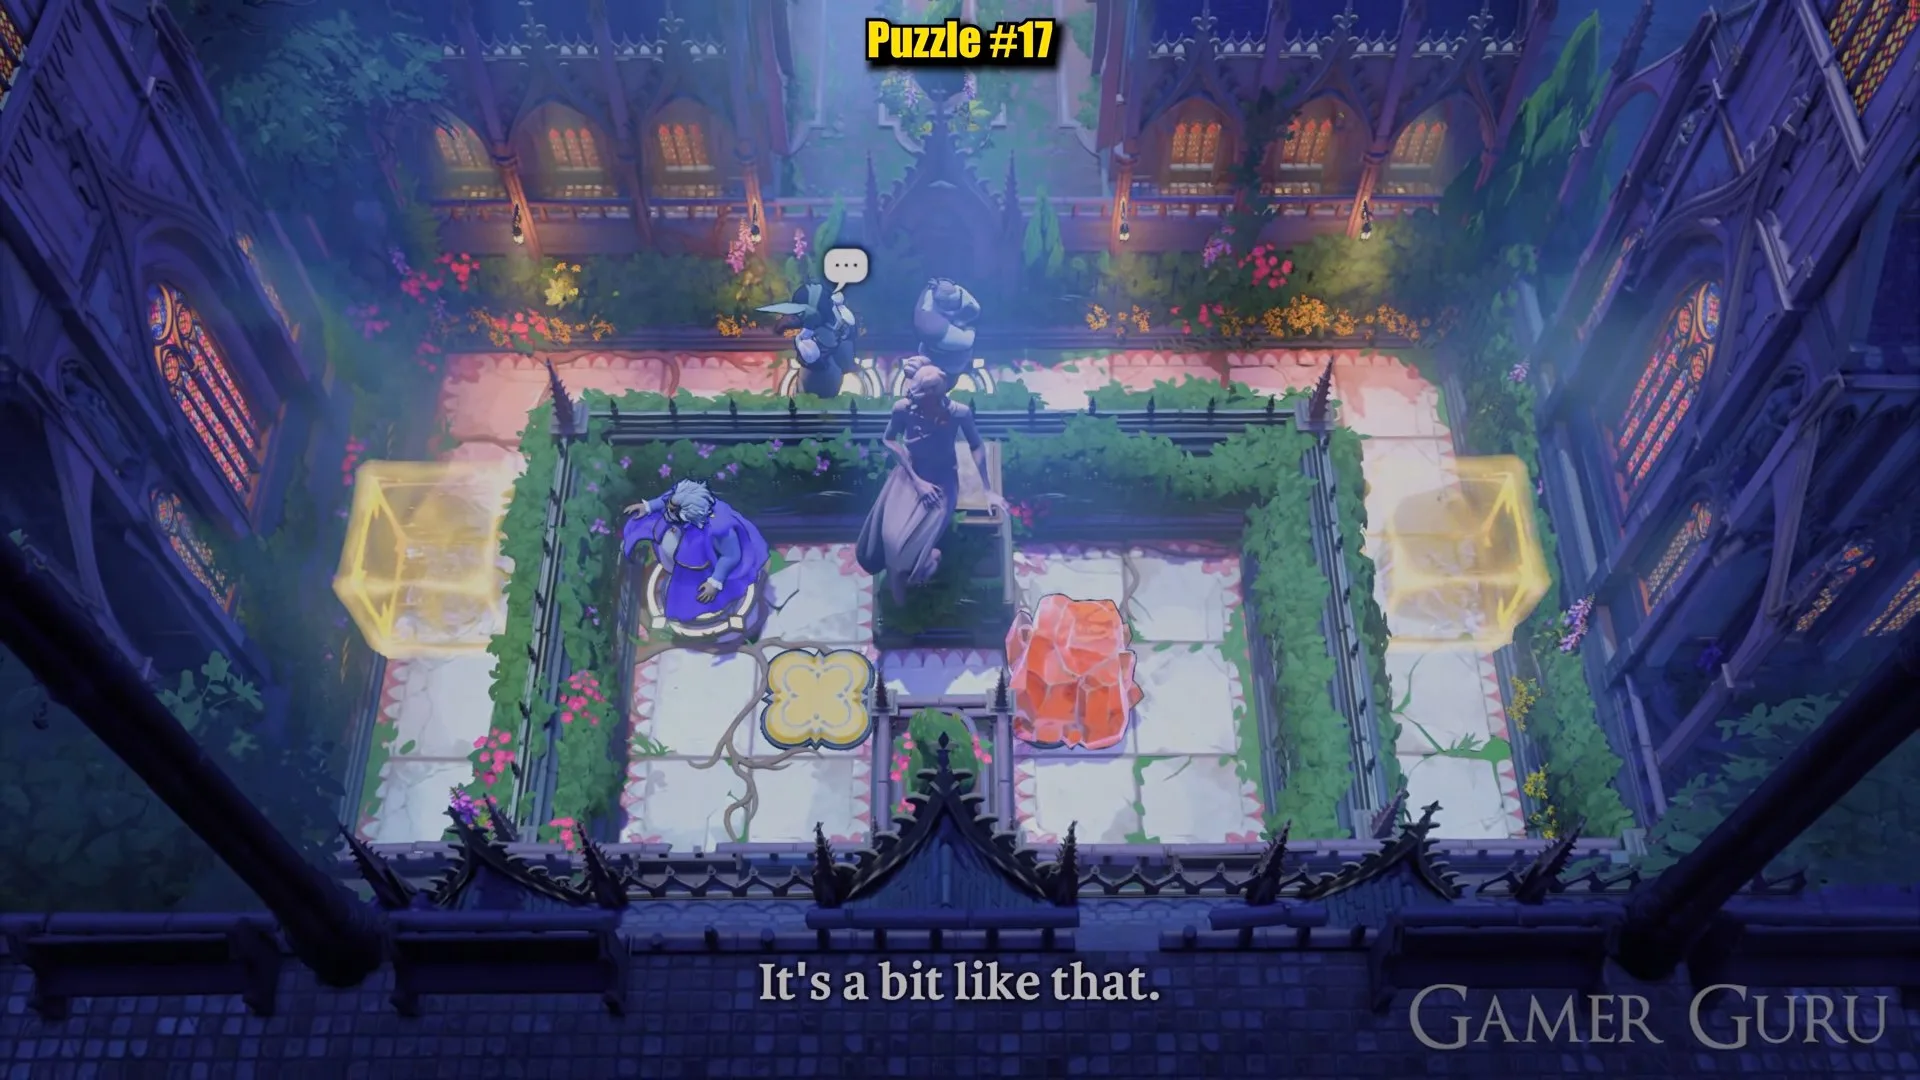
Do not stop after opening the barriers. If red still faces a cornered crystal, you need green's pull and the relay. Keep the heroes clear of the returning barrier while using it to destroy the blocking crystal.
What do the three doors after the prison do?
The doors change your cloak color and give you the corresponding red, green or blue hero ability.
Completing the prison opens the door on the right and gives you a crystal. The purple character can push it but cannot pull it, so the three ability doors matter for repositioning it.
Red door
Your cloak turns red, and you can push crystals, including more than one at a time. Confirm the red cloak before trying a group push.
Green door
Your cloak turns green, and you can pull crystals. Choose it when you need to extract a crystal instead of pushing it deeper into a blocked position. Check the green cloak before pulling.
Blue door
Your cloak turns blue, and you can swap positions. Choose it when the layout calls for an exchange rather than a push or pull. The blue cloak confirms the ability change.
How do you open the three-monster gate with simultaneous monster attacks?
Place two monsters one square apart, then push the third into the gap so all three attack each other at the same time.
The pink barrier requires all three monsters to disappear. A pairwise fight leaves one survivor, so taking out the first convenient pair strands you with a monster you cannot finish that way.
Straight row
Arrange two monsters with one empty square between them, then push the third into that middle square. Their final contact must connect all three for simultaneous monster attacks. Check the empty gap before bringing in the third.
L-shaped corner
Use the same setup around an L-shaped corner: place two first, then bring the third into the connecting square. Check that the final square connects all three, rather than just a pair.
In this room, the lower-left monster already sits in the corner, so work with the two on the right. Position one, push the other down, then left into the connection. Confirm that all three disappear together; with none left, the pink barrier can open.
You have now cleared the three-monster gate. Return to the order of the sinking star walkthrough to choose your next section. For a different region, continue with order of the sinking star skipping stones in the south or order of the sinking star the promise in the west.